Body measurements vs garment measurements: what is the difference?
Understand flat widths, circumferences and ease so a size chart actually helps you.
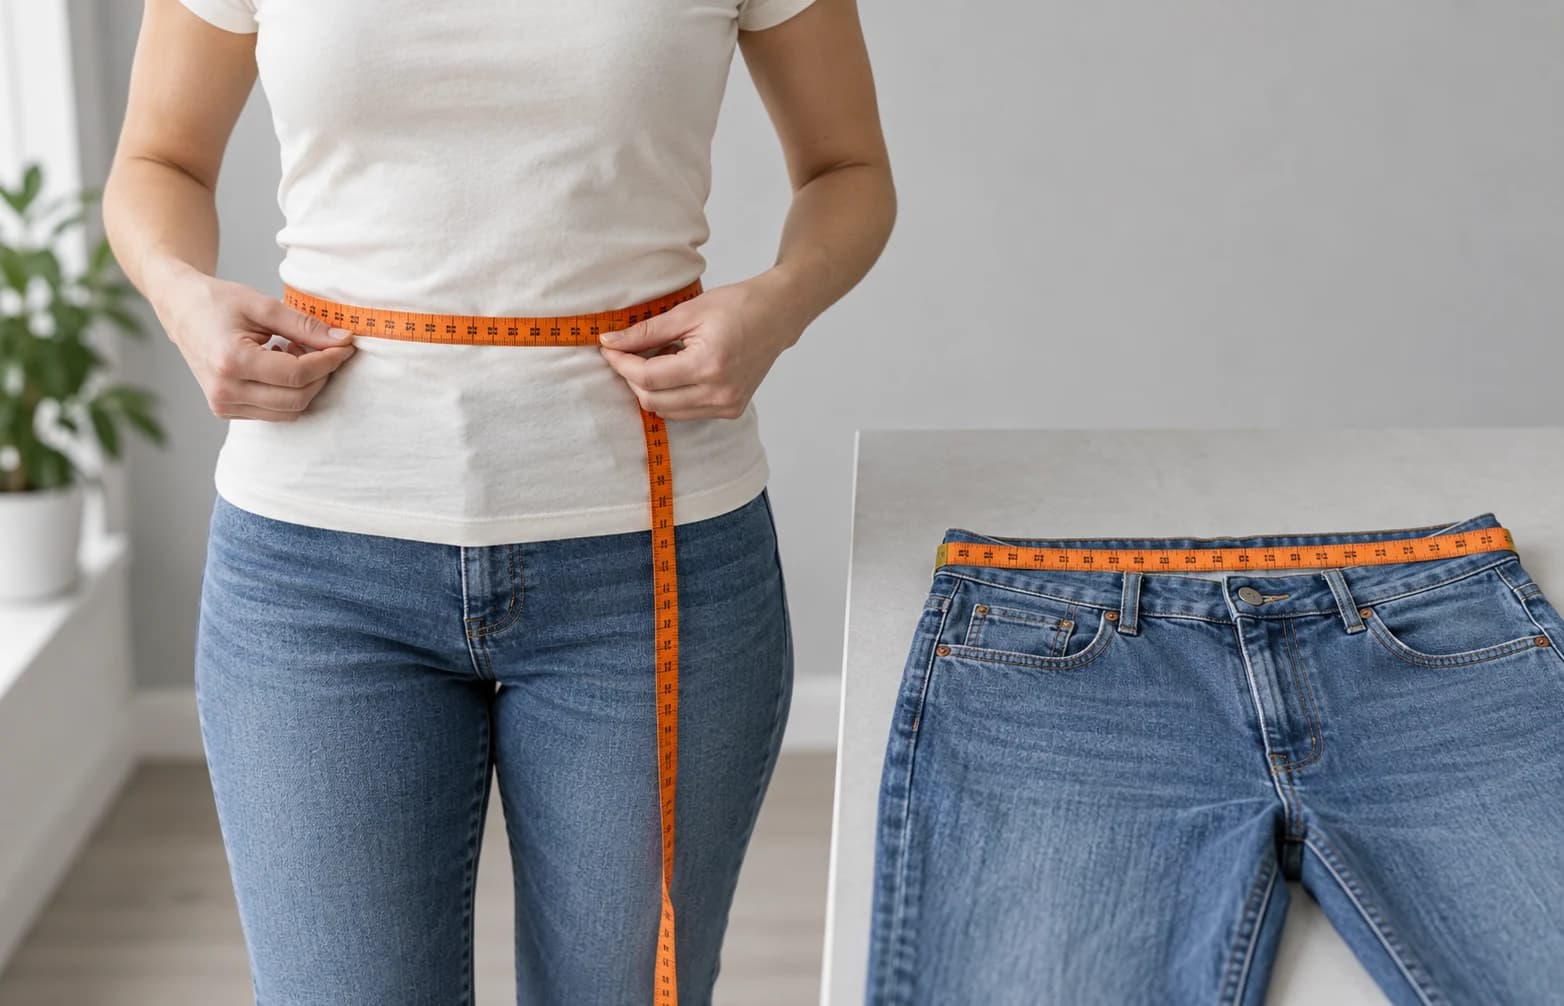
Body measurements describe you. Garment measurements describe the clothing. The space between the two affects fit, so compare measurements taken in the same way.
Body measurements describe the person
A body waist measurement is taken around your body at a specified point. A body size chart maps measurements such as waist, hips or chest to suggested sizes. Follow the brand’s measuring instructions: its chosen waist point may differ from where your trousers sit.
Use a flexible tape and a relaxed stance. Keep the tape level, take the measurement again, and note the units. If two readings differ a lot, check the position and tension before recording a number. You only need to share measurements you feel comfortable making public.
Garment measurements describe the item
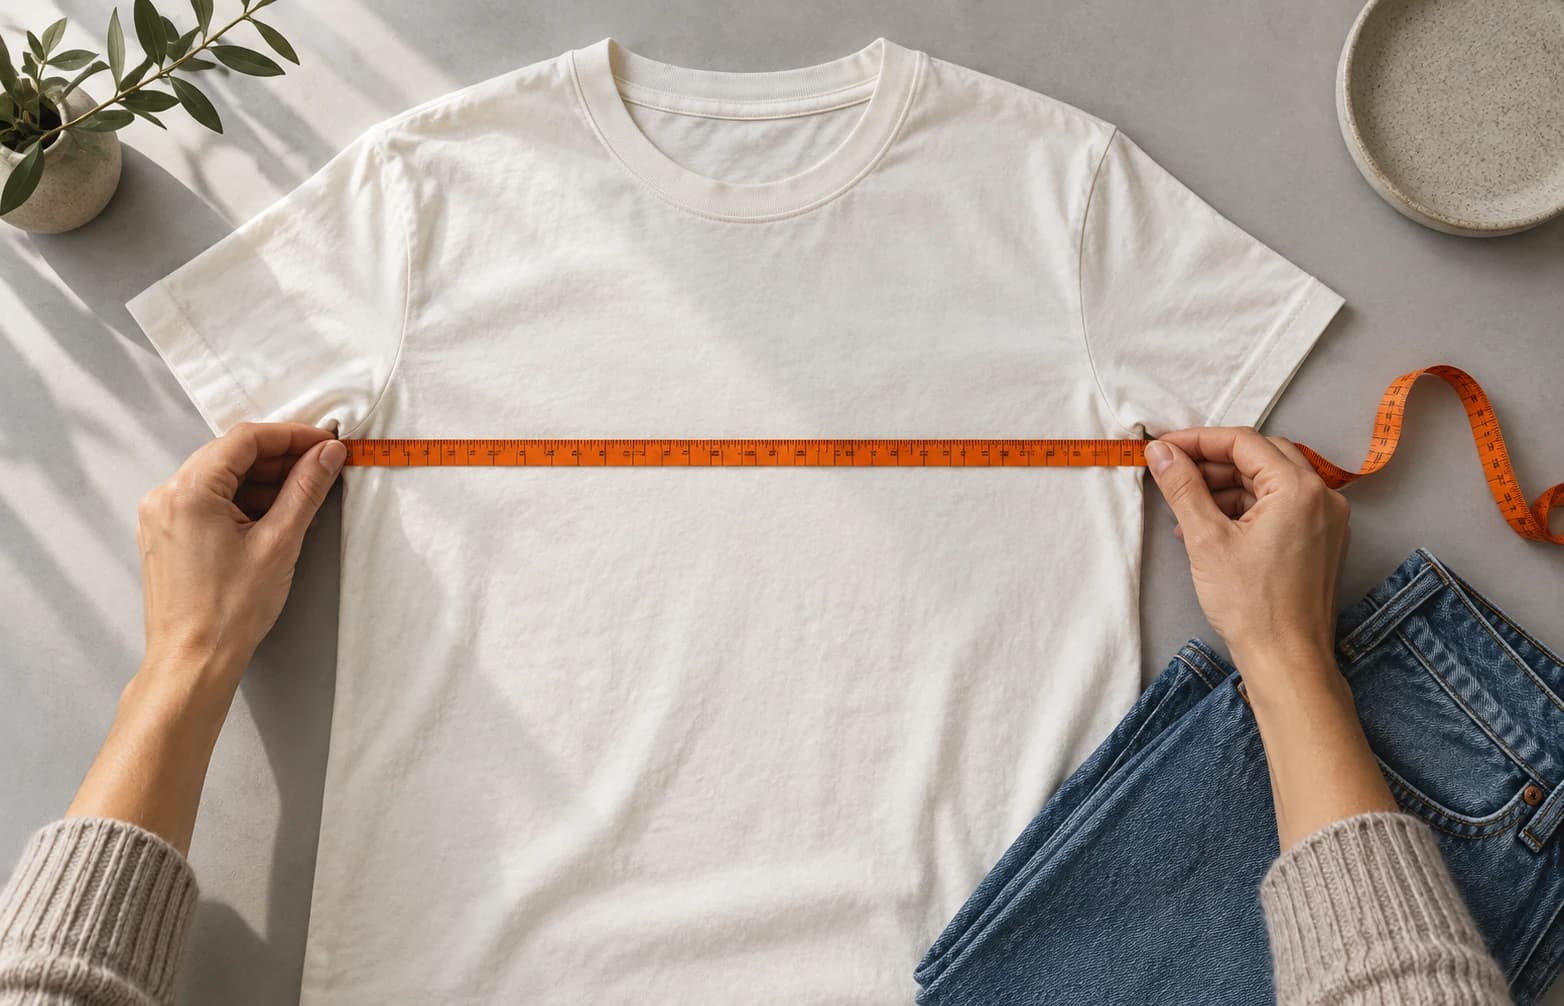
A retailer may measure a shirt laid flat, from armpit to armpit, or list its full chest circumference. It may measure trousers across the waistband or around it. The heading and measuring diagram matter as much as the number.
For a simple flat width, doubling it can provide an approximate circumference, but only when the measurement method supports that comparison. Curved waistbands, pleats, elastic and shaped construction make a quick calculation less reliable. Ask for the method when it is not stated.
The extra room is part of the design
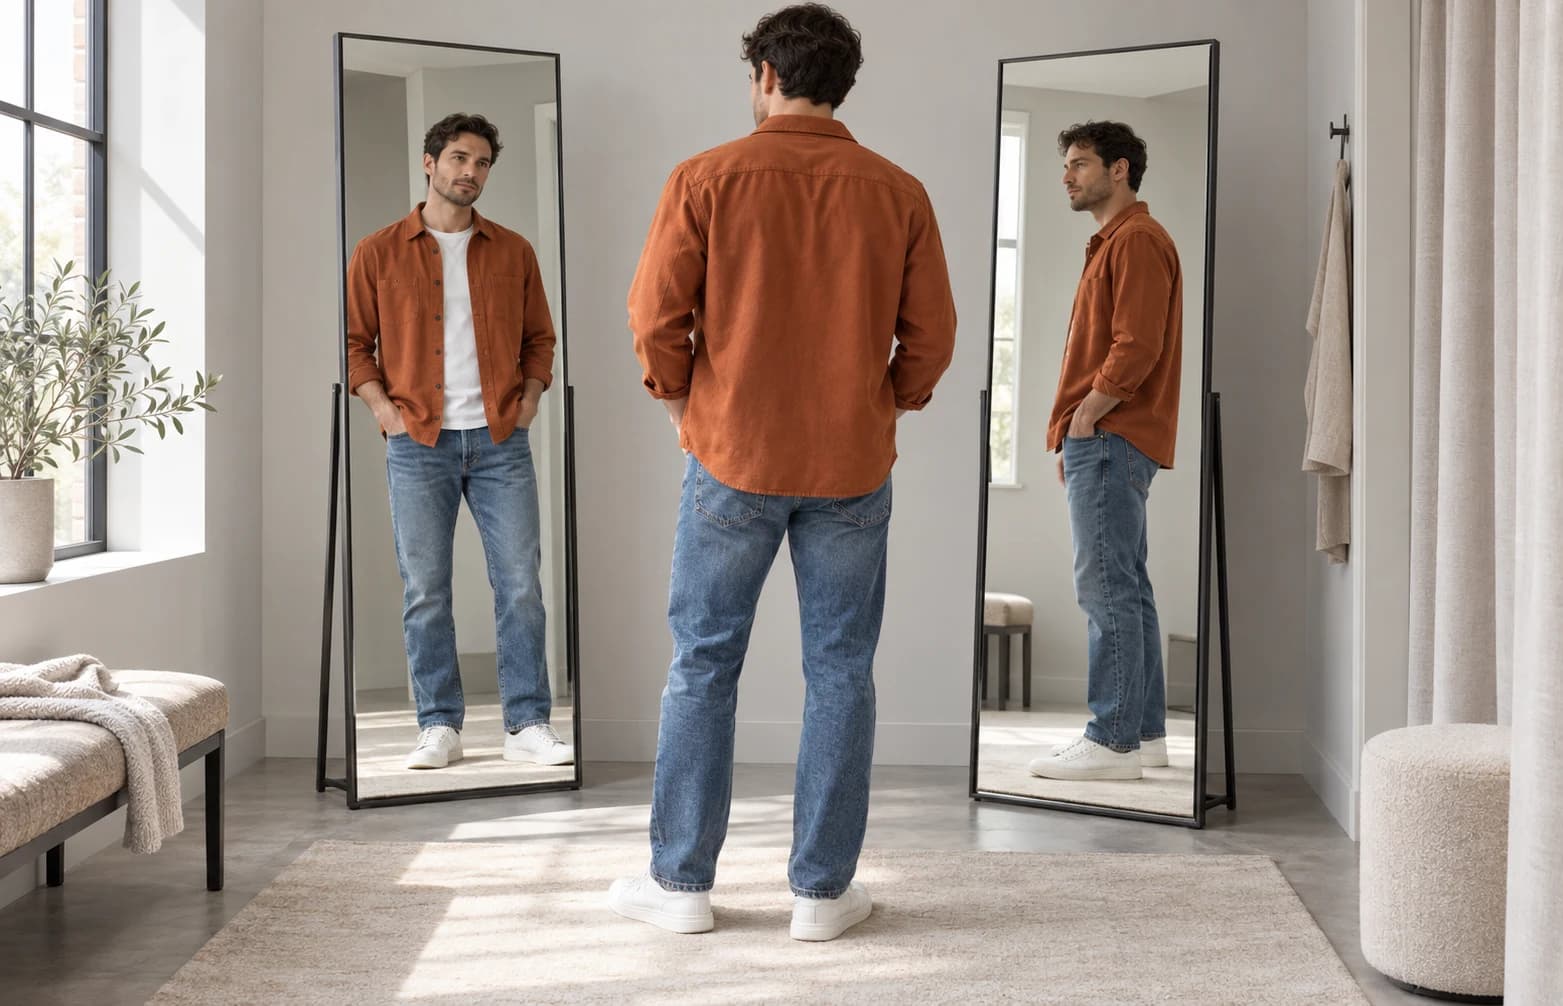
The difference between body and garment measurements is often called ease. A loose woven shirt usually has extra room. A stretchy, close-fitting garment can be smaller than the body measurement before it is stretched. There is no single amount of ease that suits every fabric and style.
Think about the result you want: a close fit, room to move, or space for a layer underneath. Two people with similar measurements can choose different sizes and both be happy with the fit.
Make a reference from clothes you own
Choose one well-fitting garment in a similar cut and fabric. Lay it flat without stretching it and use the retailer’s measuring points. Record the width, length, units and method. A photo of the tape position can help you repeat the process later.
Use this reference alongside the product guide and real try-ons. It is especially helpful when someone says an item is “oversized”: check whether that describes the design, their chosen size or their personal preference. Vicari fit notes can add that human context to the numbers.
Your quick checklist
- Identify body measurements or garment measurements.
- Check flat width versus circumference.
- Use the same points and units.
- Account for stretch and desired room.
- Keep a clearly labelled reference garment.
See the fit behind the size.
Discover available try-ons from people with similar measurements in the Vicari app.
Explore the appSee the steps inside the app